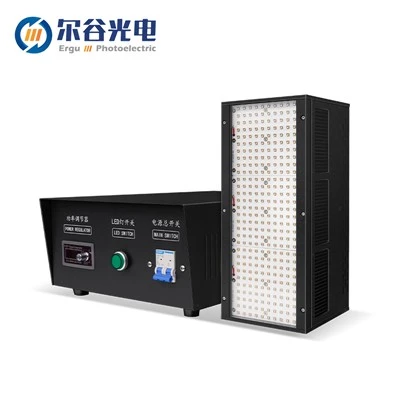
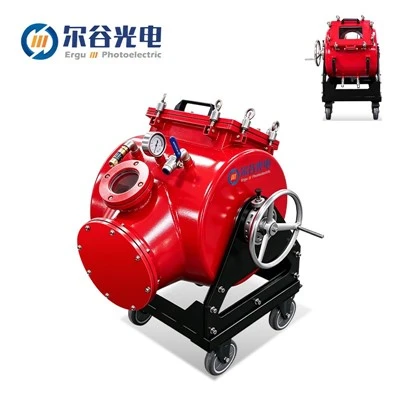
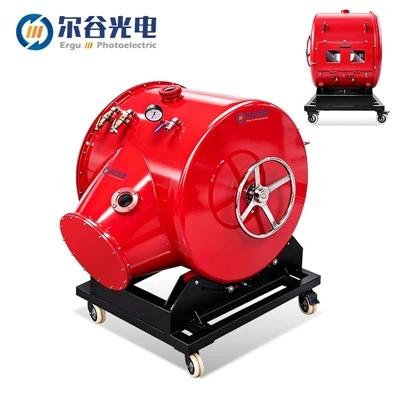
Hey there! As a supplier of UV cure equipment, I've had my fair share of experiences with installing these nifty machines. And let me tell you, it's not as complicated as it might seem at first glance. In this blog, I'm gonna walk you through the steps of installing UV cure equipment, so you can get your setup up and running in no time.


Step 1: Choose the Right Location
First things first, you need to pick the perfect spot for your UV cure equipment. The location should be well-ventilated because UV cure equipment generates heat and sometimes emits fumes. You don't want to end up in a stuffy room with all that heat and chemical smell. Also, make sure the area is flat and stable. Uneven surfaces can cause problems with the equipment's alignment and performance.
Another thing to consider is the proximity to power sources. You don't want to be running long extension cords across the room. It's not only a safety hazard but can also affect the equipment's power supply. So, find a spot close to a reliable electrical outlet.
Step 2: Unpack and Inspect the Equipment
Once you've found the right location, it's time to unpack your UV cure equipment. Be careful when opening the boxes, as the equipment can be delicate. Take out all the components and check for any signs of damage during shipping. If you notice any dents, scratches, or missing parts, contact us right away. We'll make sure to get you a replacement or the missing parts as soon as possible.
It's also a good idea to lay out all the components in an organized manner. This will make it easier for you to identify each part when it's time to install them. You can refer to the user manual that comes with the equipment for a list of all the components.
Step 3: Install the Main Unit
Now, let's start installing the main unit of the UV cure equipment. If you're installing a UV Curing Conveyor, for example, you'll need to place it on the flat surface you've chosen. Make sure it's centered and level. You can use a spirit level to check for accuracy.
Next, connect the power cord to the main unit and plug it into the electrical outlet. But don't turn it on just yet. We still have a few more steps to go.
Step 4: Install the UV Lamps
The UV lamps are the heart of the UV cure equipment. They're responsible for emitting the UV light that cures the materials. Installing the UV lamps is usually a straightforward process. Most UV cure equipment comes with a lamp housing where you can easily insert the lamps.
Make sure to wear gloves when handling the UV lamps to avoid getting fingerprints on them. Fingerprints can reduce the efficiency of the lamps and cause uneven curing. Once you've inserted the lamps into the housing, secure them in place according to the manufacturer's instructions.
Step 5: Connect the Cooling System
UV cure equipment generates a lot of heat, so it's essential to have a proper cooling system. Most UV cure equipment comes with a built-in cooling system, such as a fan or a water cooling system.
If you have a fan-cooled system, make sure the fan is properly connected and that there are no obstructions in the air intake or exhaust vents. For water-cooled systems, connect the water hoses to the appropriate ports on the equipment and to a water source. Make sure the water flow is smooth and that there are no leaks.
Step 6: Install the Control Panel
The control panel is where you'll be able to adjust the settings of the UV cure equipment, such as the curing time, intensity of the UV light, and conveyor speed (if applicable). Install the control panel according to the instructions in the user manual.
Connect the control panel to the main unit using the provided cables. Once the connection is secure, you can start programming the settings. It's a good idea to familiarize yourself with the control panel before you start using the equipment.
Step 7: Test the Equipment
After you've installed all the components, it's time to test the UV cure equipment. Turn on the power and let the equipment warm up for a few minutes. Check the control panel to make sure all the settings are correct.
Run a test batch of materials through the equipment to see if it's working properly. Observe the curing process and make sure the materials are being cured evenly. If you notice any issues, such as uneven curing or overheating, refer to the troubleshooting section in the user manual or contact our customer support team.
Step 8: Calibration and Fine-Tuning
Once you've confirmed that the equipment is working, it's time to calibrate and fine-tune it. This step is crucial to ensure that the equipment is operating at its optimal performance.
You may need to adjust the curing time, intensity of the UV light, and conveyor speed (if applicable) based on the type of materials you're curing. You can do this by referring to the recommended settings in the user manual or by conducting some trial and error tests.
Step 9: Training and Safety Measures
Before you start using the UV cure equipment on a regular basis, it's important to train your staff on how to operate it safely. Make sure they understand the proper procedures for loading and unloading materials, adjusting the settings, and performing maintenance.
Also, provide your staff with the necessary safety equipment, such as goggles and gloves, to protect them from the UV light and any potential hazards. Display safety signs near the equipment to remind everyone of the safety precautions.
Step 10: Maintenance and Support
Regular maintenance is essential to keep your UV cure equipment in good working condition. Follow the maintenance schedule in the user manual, which may include tasks such as cleaning the lamps, checking the cooling system, and inspecting the electrical connections.
If you ever encounter any problems with your UV cure equipment, don't hesitate to contact us. We have a team of experienced technicians who are ready to provide you with support and assistance.
Well, there you have it! That's how you install UV cure equipment. It may seem like a lot of steps, but if you follow them carefully, you'll have your equipment up and running in no time.
If you're interested in purchasing UV cure equipment, such as a UV Curing Machine for Screen Printing or a UV Screen Printing Dryer, feel free to reach out to us. We're always happy to help you find the right equipment for your needs and assist you with the installation process.
References
- Manufacturer's user manuals for UV cure equipment
- Industry best practices for UV cure equipment installation and maintenance